
iPhone background-removal guide
How to Remove a Background From a Photo on iPhone
Choose a photo in Remove BG & Eraser, let automatic removal create the initial cutout, then review the subject. Use erase and restore where needed, and finish with either a transparent PNG or a replacement background.
Remove BG & Eraser includes 3 free exports and an optional one-time Lifetime Unlock. No subscription.
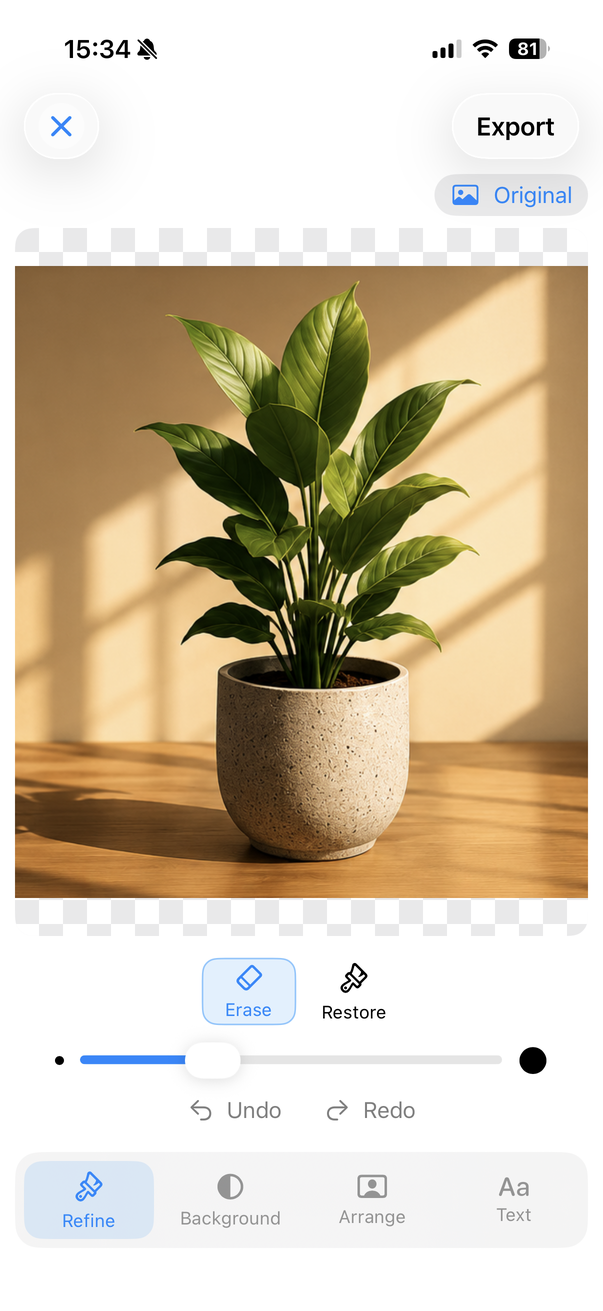
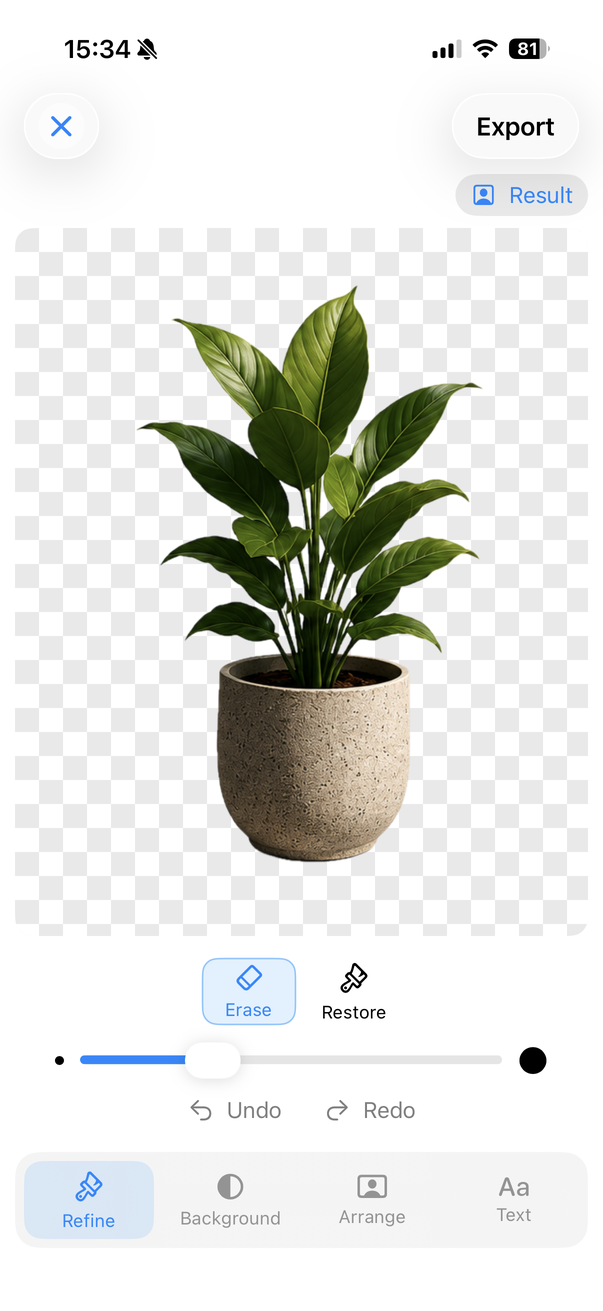
Start with the photo you want to keep
Background removal separates the subject you want from the surrounding image. Before opening the editor, decide what belongs in the finished cutout: the entire person, the object with its handle, or a subject together with a small detail that matters. That decision gives you something concrete to check after automatic removal.
Choose a source where the subject is visible and its outline is reasonably clear. If you have several photos, compare hair, hands and the boundary where clothing meets the background. A blurred edge or a subject partly hidden behind something is harder to judge. Removing the background cannot reveal detail that the original photo never captured.
1. Choose a photo and remove its background
Open your chosen image in Remove BG & Eraser. The app automatically creates the initial subject cutout. Background removal and editing happen on your device, and you do not need a Remove BG account to start the workflow.
Treat this first result as a starting point. Look at whether the right subject remains, whether part of the original surroundings is still attached, and whether any useful detail has disappeared. A simple image may need little further work; a busy background can make the boundary less obvious.
2. Review the whole cutout, then the small details
First check the overall silhouette. Does the cutout include everything you intended to keep? Then inspect the places where mistakes are easy to miss: the spaces between fingers, a loose strand of hair, a bag strap, the bottom of a sleeve, or a gap beside the subject.
Reviewing against a different background can make leftover color or a missing edge easier to see. An outline that blends into white might look rough on a dark color. This is especially useful when you plan to reuse the cutout in more than one composition.
3. Refine only the areas that need correction
Use erase to remove pieces of the original background that remain in the cutout. Use restore to bring back parts of the subject that were removed. The magnifier helps you see the boundary while making those manual adjustments.
Work on one small area at a time and regularly look at the image as a whole. Removing every faint strand can leave an unnaturally sharp outline; restoring too far can bring back a halo of the original background. Aim for a believable boundary at the size where the image will be used.
Hair, fingers and clothing edges often deserve extra attention, but manual cleanup does not guarantee perfect extraction. If the original has motion blur, fine transparent material or very similar subject and background colors, some uncertainty remains. The guide to refining hair and edges explains how to approach these cases.
4. Keep transparency or choose a new background
For a reusable cutout, leave the background transparent and export as PNG. This is useful when you want to place the subject on a slide, a layout or another image later. Transparency means the surrounding area can show the destination background rather than a fixed rectangle of color.
For a finished image, choose white, another solid color, a gradient or your own photo as the replacement background. Remove BG also lets you move, resize and rotate the extracted subject. Use these controls to leave enough room around the subject and check that important parts are not placed too close to the image boundary.
5. Check the result before exporting
Review the final composition at a normal viewing size. Look for leftover background, missing parts and awkward positioning. If you chose transparency, confirm that you have not added a solid background by mistake. If you chose white, inspect pale clothing and light edges carefully so they remain readable.
Export the finished image when you are satisfied. Remove BG & Eraser includes 3 free exports, with an optional one-time Lifetime Unlock for unlimited use and no subscription. It is worth doing the edge and composition checks before each export.
Which result should you choose?
Use a transparent PNG when the next destination needs to supply its own background. Choose a white background for a simple finished image, or use a photo background when the setting is part of the composition. These choices follow the same initial removal and refinement workflow.
You can return to the Remove BG & Eraser homepage for the complete feature overview. The guides below explain the next steps in more detail, without assuming that every photo needs the same amount of cleanup.
Related workflows
Try the workflow on your iPhone
Remove backgrounds automatically, refine the cutout and export or replace the background with Remove BG & Eraser.

3 free exports. Optional one-time Lifetime Unlock. No subscription.